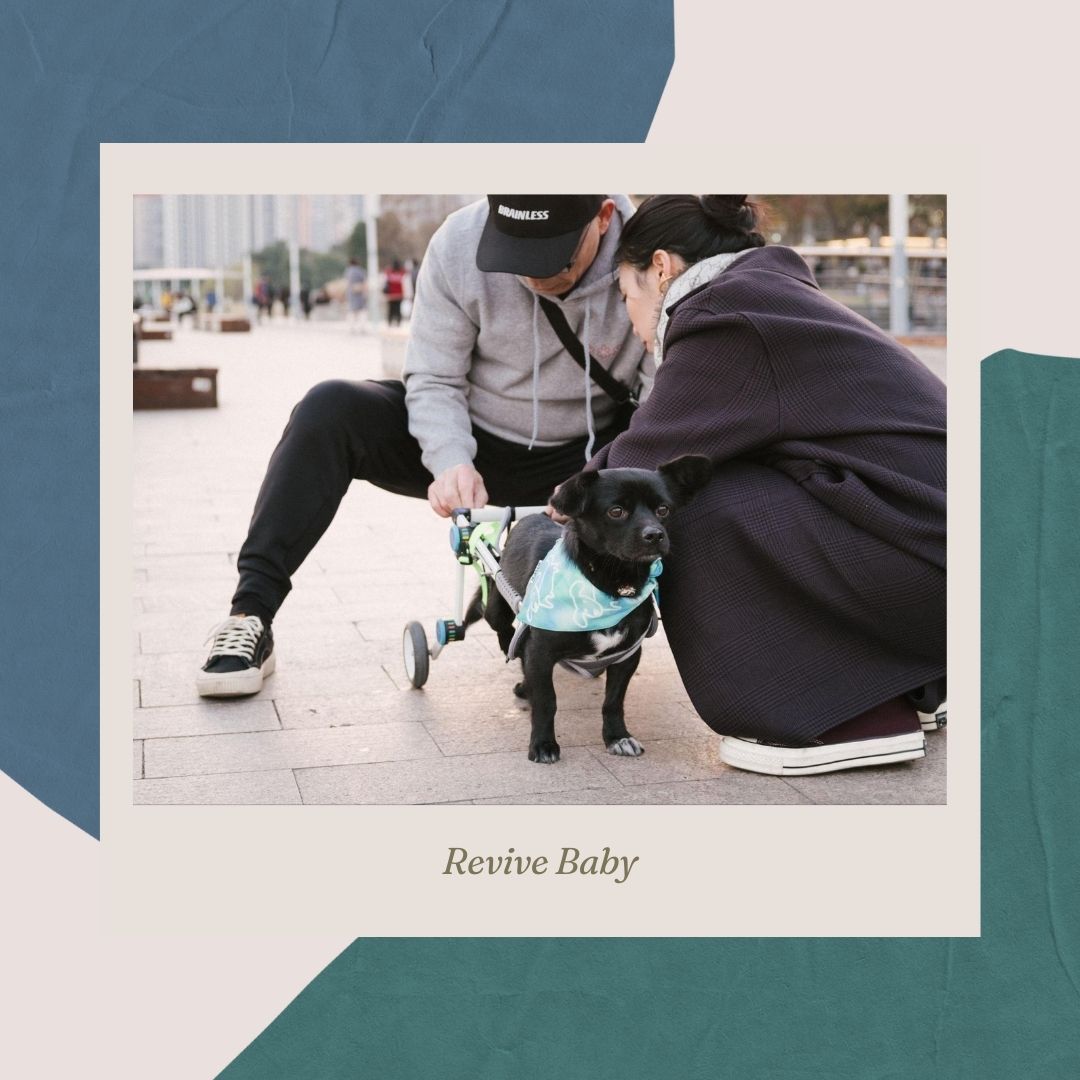
and enhancing their overall quality of life. While commercial dog wheelchairs are available, repurposing a baby stroller into a customized dog wheelchair presents a creative and cost-effective alternative.
We will explore the step-by-step process of transforming a baby stroller into a functional dog wheelchair.
Discover how a simple repurposing project can provide your disabled dog with the mobility assistance they deserve, opening up a world of possibilities for adventure, exercise, and joy.
Things Needed To Make A Dog Wheelchair Out Of A Baby Stroller

Steps On Making A Dog Wheelchair Out Of A Baby Stroller

Step 1: Prepare the stroller. Begin by removing unnecessary parts from the stroller, such as the canopy or storage compartments. You want to create an open and accessible space for your dog. Make sure the stroller frame is in good condition and structurally sound.
Step 2: Measure and adjust. Measure your dog's height from the ground to the top of its back while they are standing. This measurement will help determine the height of the wheelchair and ensure it provides proper support. Adjust the stroller's handlebars or frame to match your dog's height.
Step 3: Create the support structure. Cut the seat fabric or any unnecessary elements obstructing your dog's movement. You want to create a clear opening where your dog's lower body can rest comfortably. Leave enough space for their legs to move freely.
Step 4: Secure the dog harness. Attach a dog harness to the stroller frame, ensuring it supports your dog's chest and upper body. Adjust the straps to fit your dog securely but not too tight. The harness will help keep your dog upright while using the wheelchair.
Step 5: Attach the wheels. Remove the stroller's existing wheels and attach the dog wheelchair wheels to the frame. You can find suitable wheels online or at a pet supply store. Ensure the wheels are securely fastened to the frame and can rotate freely.
Step 6: Test and make adjustments. Place your dog in the wheelchair and check if their weight is evenly distributed and their movement is comfortable. Make any necessary adjustments to the height, straps, or harness to ensure proper support and stability.
Step 7: Add padding (optional). If desired, you can add foam padding or cushions to the seating area of the stroller to provide additional comfort for your dog. Ensure they are securely attached and do not hinder your dog's movement.
How to Make an Alternative to Dog Wheelchairs?
If you're looking for an alternative to a traditional dog wheelchair, there are a few options you can consider based on your dog's specific needs.
Here are a few alternative solutions:
DIY Sling Support

- Materials: Fabric or a sturdy sling, straps or belts, padding (optional).
- Use: Create a sling that supports your dog's hindquarters or any other affected area.
- Instructions: Measure and cut fabric or use a premade sling. Secure it under your dog's belly and attach straps or belts around its back to provide support. Add padding for extra comfort if needed.
Rear Support Harness

- Materials: Dog harness, sturdy handles or straps, padding (optional).
- Use: Provide support and assistance to your dog's hindquarters.
- Instructions: Select a well-fitting dog harness with sturdy handles or straps at the rear end. Lift and support your dog's hindquarters using the handles while they walk or move. Add padding for comfort if desired.
Front Wheel Support

- Materials: Dog wheelchair front attachment, straps or belts, padding (optional).
- Use: Assist dogs with front limb disabilities or weakness.
- Instructions: Acquire a front attachment designed for dog wheelchairs that only allows the use of wheels at the front. Attach the front wheels to the device and secure it to your dog's chest or shoulders using straps or belts. Ensure a secure fit and add padding for comfort if necessary.
Custom-Made Assistance Device

- Materials: Varies based on design (e.g., PVC pipes, fabric, straps, wheels, etc.).
- Use: Create a customized device tailored to your dog's mobility needs.
- Instructions: Design and construct a custom device based on your dog's requirements. This may involve using PVC pipes to create a supportive frame, attaching fabric or slings, incorporating wheels, and utilizing straps or belts for stability.
Conclusion
This plan takes no more than an afternoon to put together. As a result, you can keep your dog entertained and active without breaking the bank. Our do-it-yourself plan works with any stroller for your child.
In the long run, you will save a lot of money. Assist your dog as needed, but take care not to injure its limbs. Training is essential because adaptation may take some time.


